Bacon Popcorn! Perfect snack for movie night at home! :)

Hey Guys,

Hope everyone had a wonderful holiday and is gearing up for an ever better new year! I have a lot of updating to do, lots of cooking over the long break to post about. For now I’ll leave this easy recipe here for your enjoyment. My brother in law introduced me to this and gave me the recipe. It took a few tries to perfect it, but it’s now my “go to” for a special treat at home. It’s by no means healthy, but it’s oh so yummy. Enjoy!

Ingredients

  • Bacon – I use 1lb per 1 bag of popcorn, but if you want it be more popcorny than bacony, go with 1/2 lb to every 1 bag of popcorn.
  • Popcorn – 1 bag. I used the microwaveable kind (from Costco) but I imagine this recipe would be even more amazing with freshly made popcorn.
  • Parmesan Cheese
  • Olive or Truffle oil – optional.

Let’s get started!

Step One- cook your bacon in a large pan on the stove. I often will cook bacon in the oven, which makes it less greasy and therefore a bit more healthy. For this recipe, however, I suggest cooking it on the stove as the greases/fats from the bacon will go into the paste that covers the popcorn.

Do not worry so much about lining the bacon out evenly (see photo) as the bacon will all end up blended in the food processor and therefore does not need to look pretty.

bacon

cooking

cooked

Step Two- Once the bacon is cooked, remove from heat and allow to cool a bit.

Step Three- Place the bacon into a food processor and blend (do not chop.) I’ve made this recipe on prior occasions with a magic bullet blender, and while it did work, the food processor was incredibly faster, easier, and the bacon was more evenly blended.

prcoessor

putting bacon in proc

blending

Step Four- Add a few slices of parmesan cheese to the mix and blend those as well.

cheese

slices of cheese

cheese in procc

all done blended

Step Five- Scrap mixture out of food processor into a big bowl. Add a bit of the grease/fat from the pan where you cooked the bacon to make the mixture into a more liquid paste. If you prefer you can use either olive oil or truffle oil to achieve the same result.

paste

^^ Before.

paste with oil

^^ After.

Step Six- Pop your popcorn. Add popcorn to the bowl with the bacon and cheese mixture.

popcorn

Step Seven- Stir well and continuously, pulling from the bottom up so that the entire paste is evenly spread among all the pieces of the popcorn. This can take up to 5 minutes to ensure it’s well spread.

final product

And you’re done! Enjoy!

Homemade Chicken and Waffles, (and spicy greens) OH YEAH!

Hi Guys!

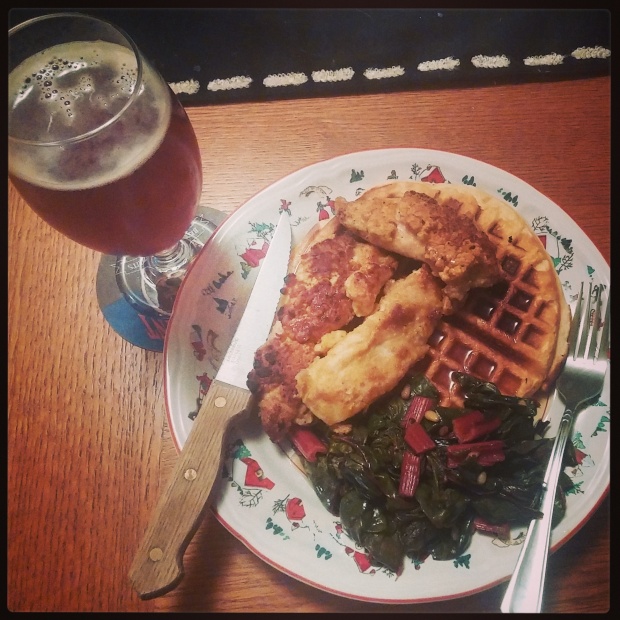
Yesterday the “Storm of the Century” rolled into San Diego and put me in a comfort food kind of mood! No seriously, it rained, consistently for about 10 hours yesterday, which if you’re from San Diego you know is pretty intense for us. Throughout the day I found myself indulging in all sorts of comfort foods: nice coffee, grilled cheese, homemade vegetable minestrone, peppermint tea etc. but it all culminated with dinner. My boyfriend has been craving homemade chicken and waffles for a while, and well, I’ve been looking for an excuse to make it! It’s not exactly healthy eating, and, as the purpose of this blog points out, I’ve been trying to cook and eat healthier lately. But what the heck, it was Friday! So chicken and waffles it was! I made it a bit healthier by pan searing the chicken (vs. frying) and I served it up with spicy chard greens and a nice Sierra Nevada Celebration.

finished product

Let’s cook!

ingredients

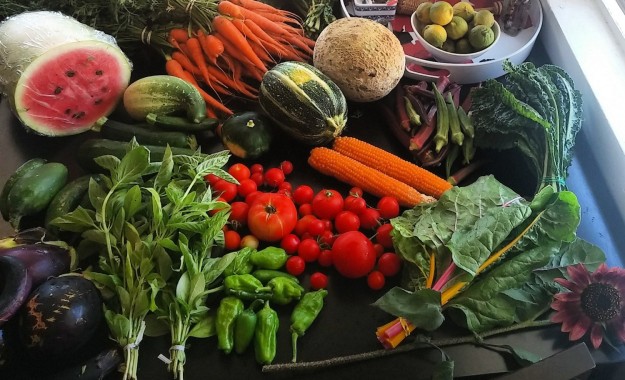
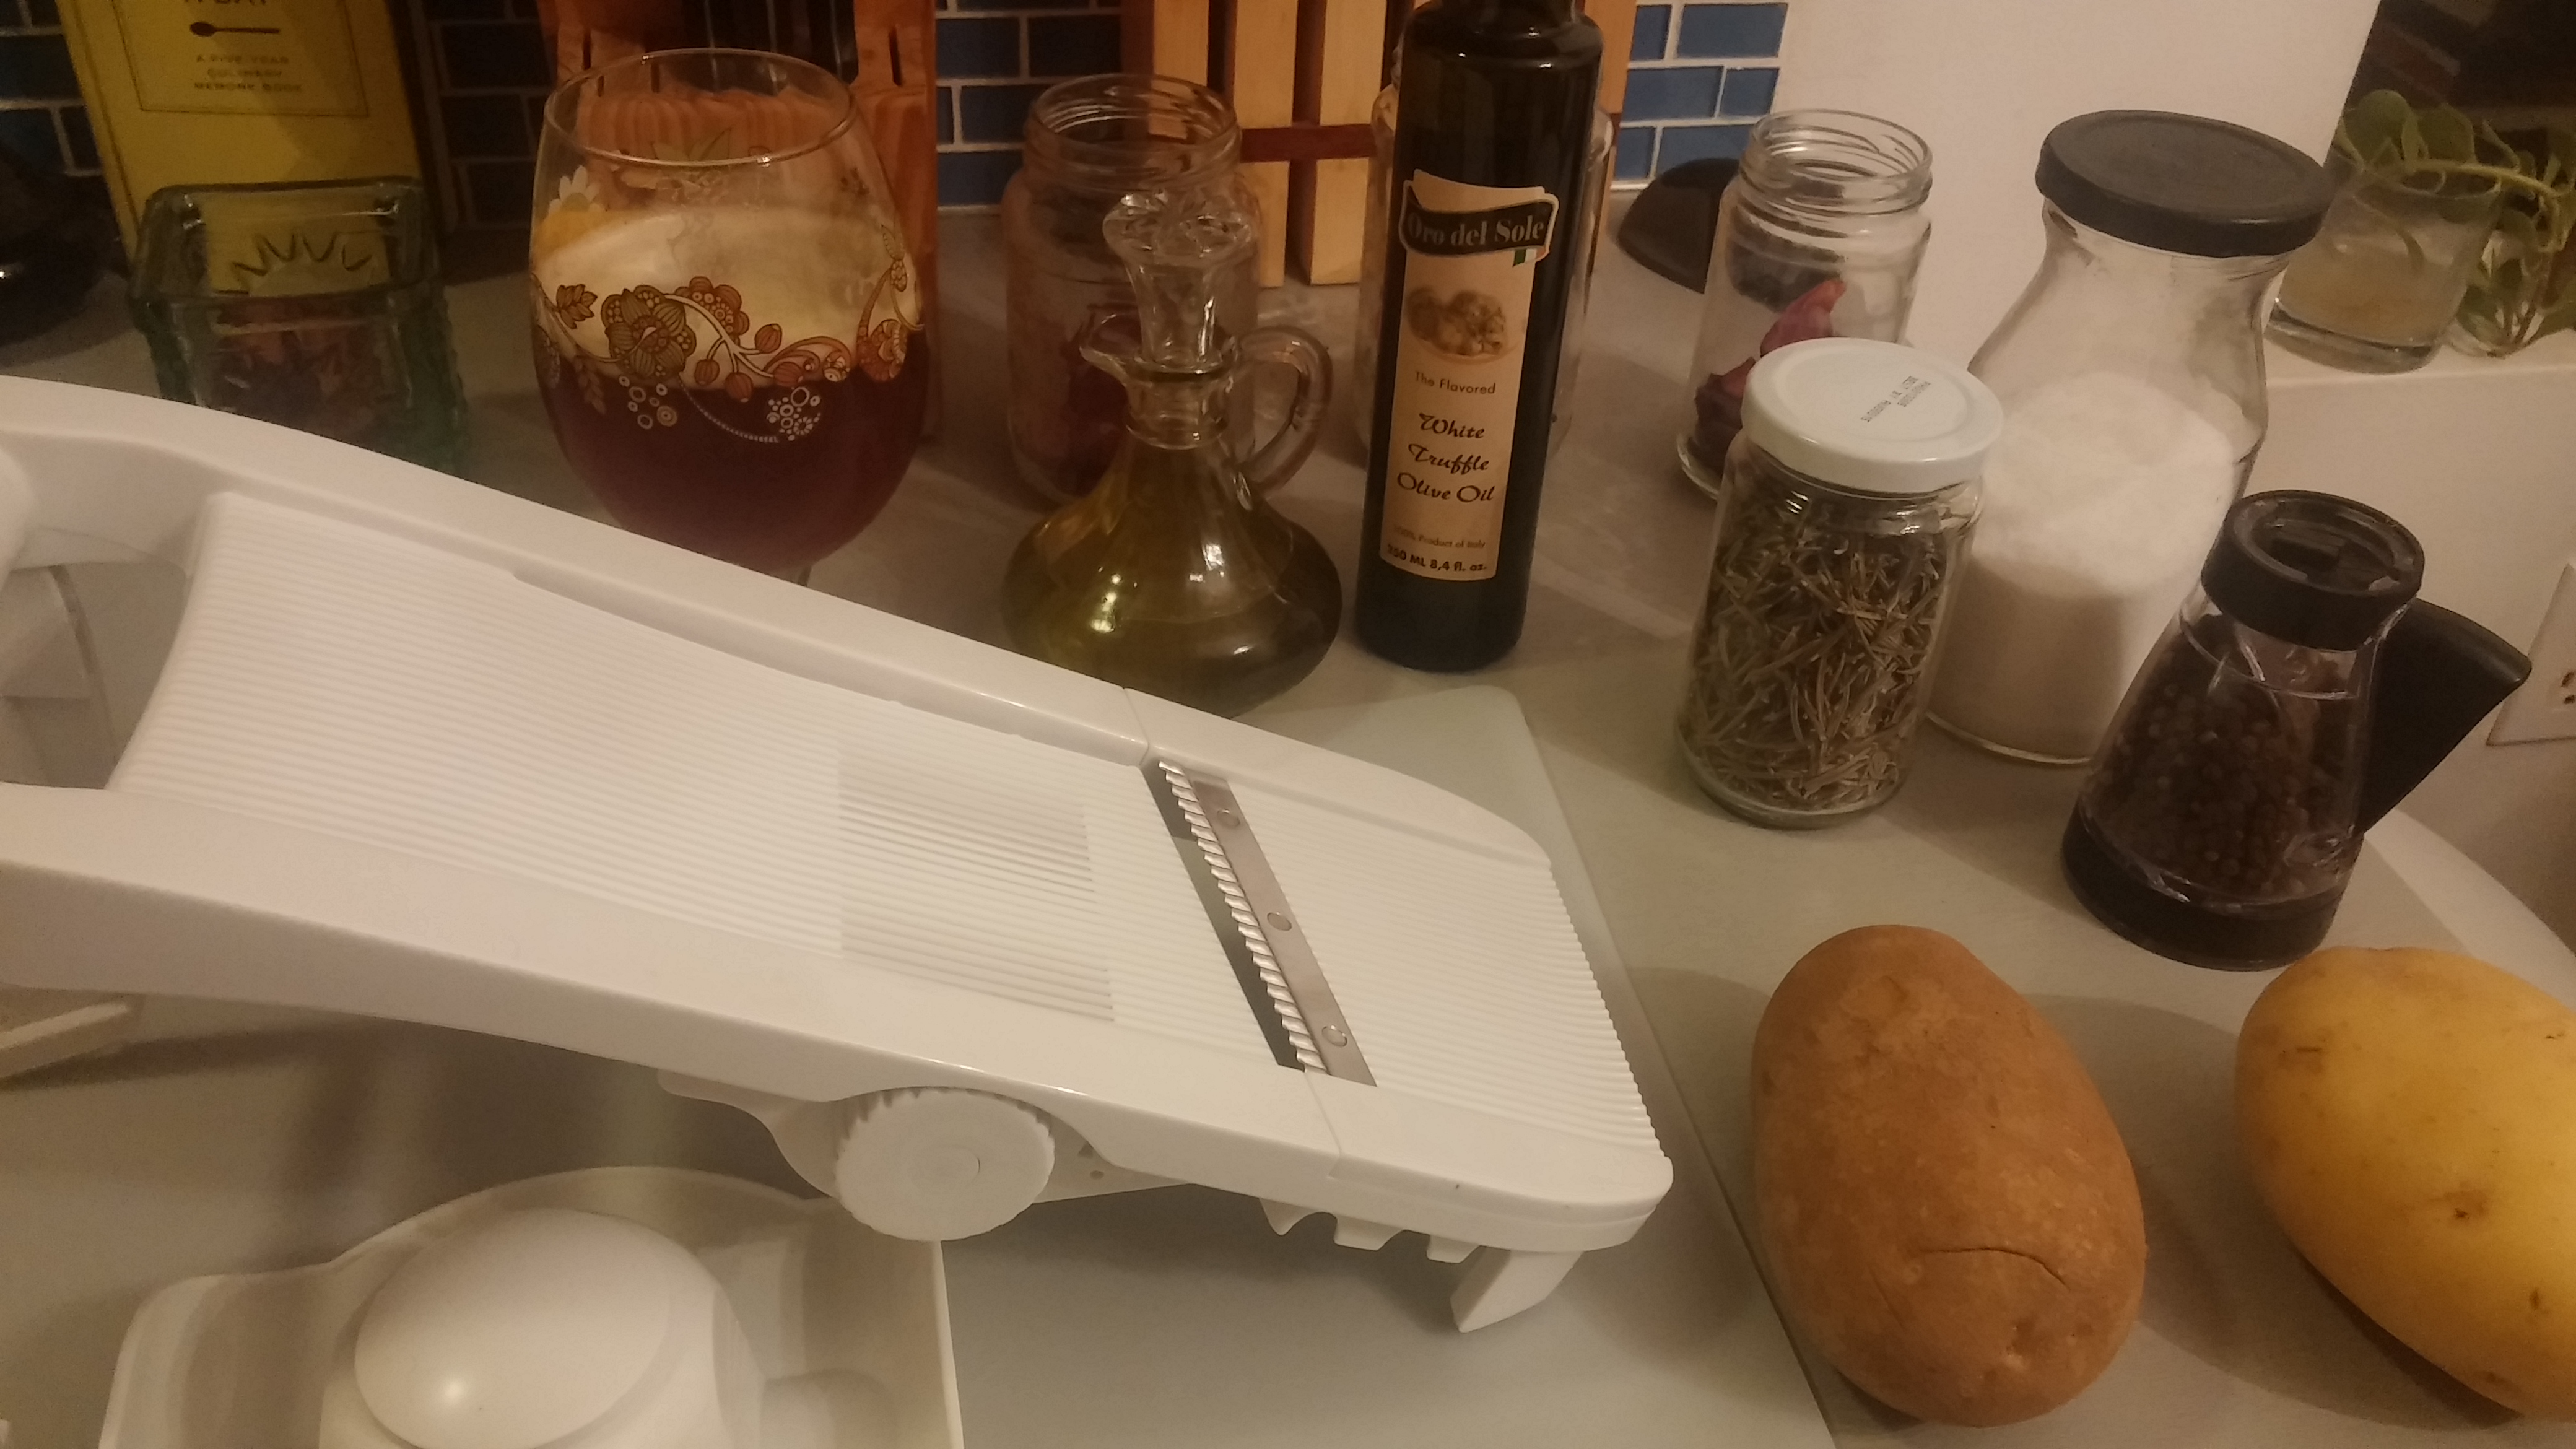
^^ This is everything you’ll need, but I’ll take you through each part of the recipe separately and discuss the ingredients.

Part One – The Chard Greens

So, our CSA is routinely gifting us with beautiful Swiss chard. Chard can be bitter so I am often looking for ways to cook it, rather than putting it directly into salads. I don’t know about you guys, but whenever I go to a good BBQ or soul food restaurant, I always order the greens. So I was excited to try and attempt it myself. DISCLOSURE- I know nothing about cooking greens. I know recipes call for various hot sauces, some call for bacon, and some are long intensive processes. What I made was not that. What I made was a low budget attempt at something awesome. I hope you like them!

Ingredients

  • Chard (6 leaves/stems)
  • Pine Nuts (half a handful, between 15- 20)
  • Crushed Garlic (1 teaspoon)
  • Cayenne Pepper (a dash)
  • Red Wine Vinegar (1/4 cup)
  • Salt and Pepper to taste
  • Olive oil

Step One- Wash your chard. Because our vegetables come from a CSA, there’s always the chance some dirt or a little creature has come along for a ride. Either way produce should be thoroughly washed and dried before eating.

chard

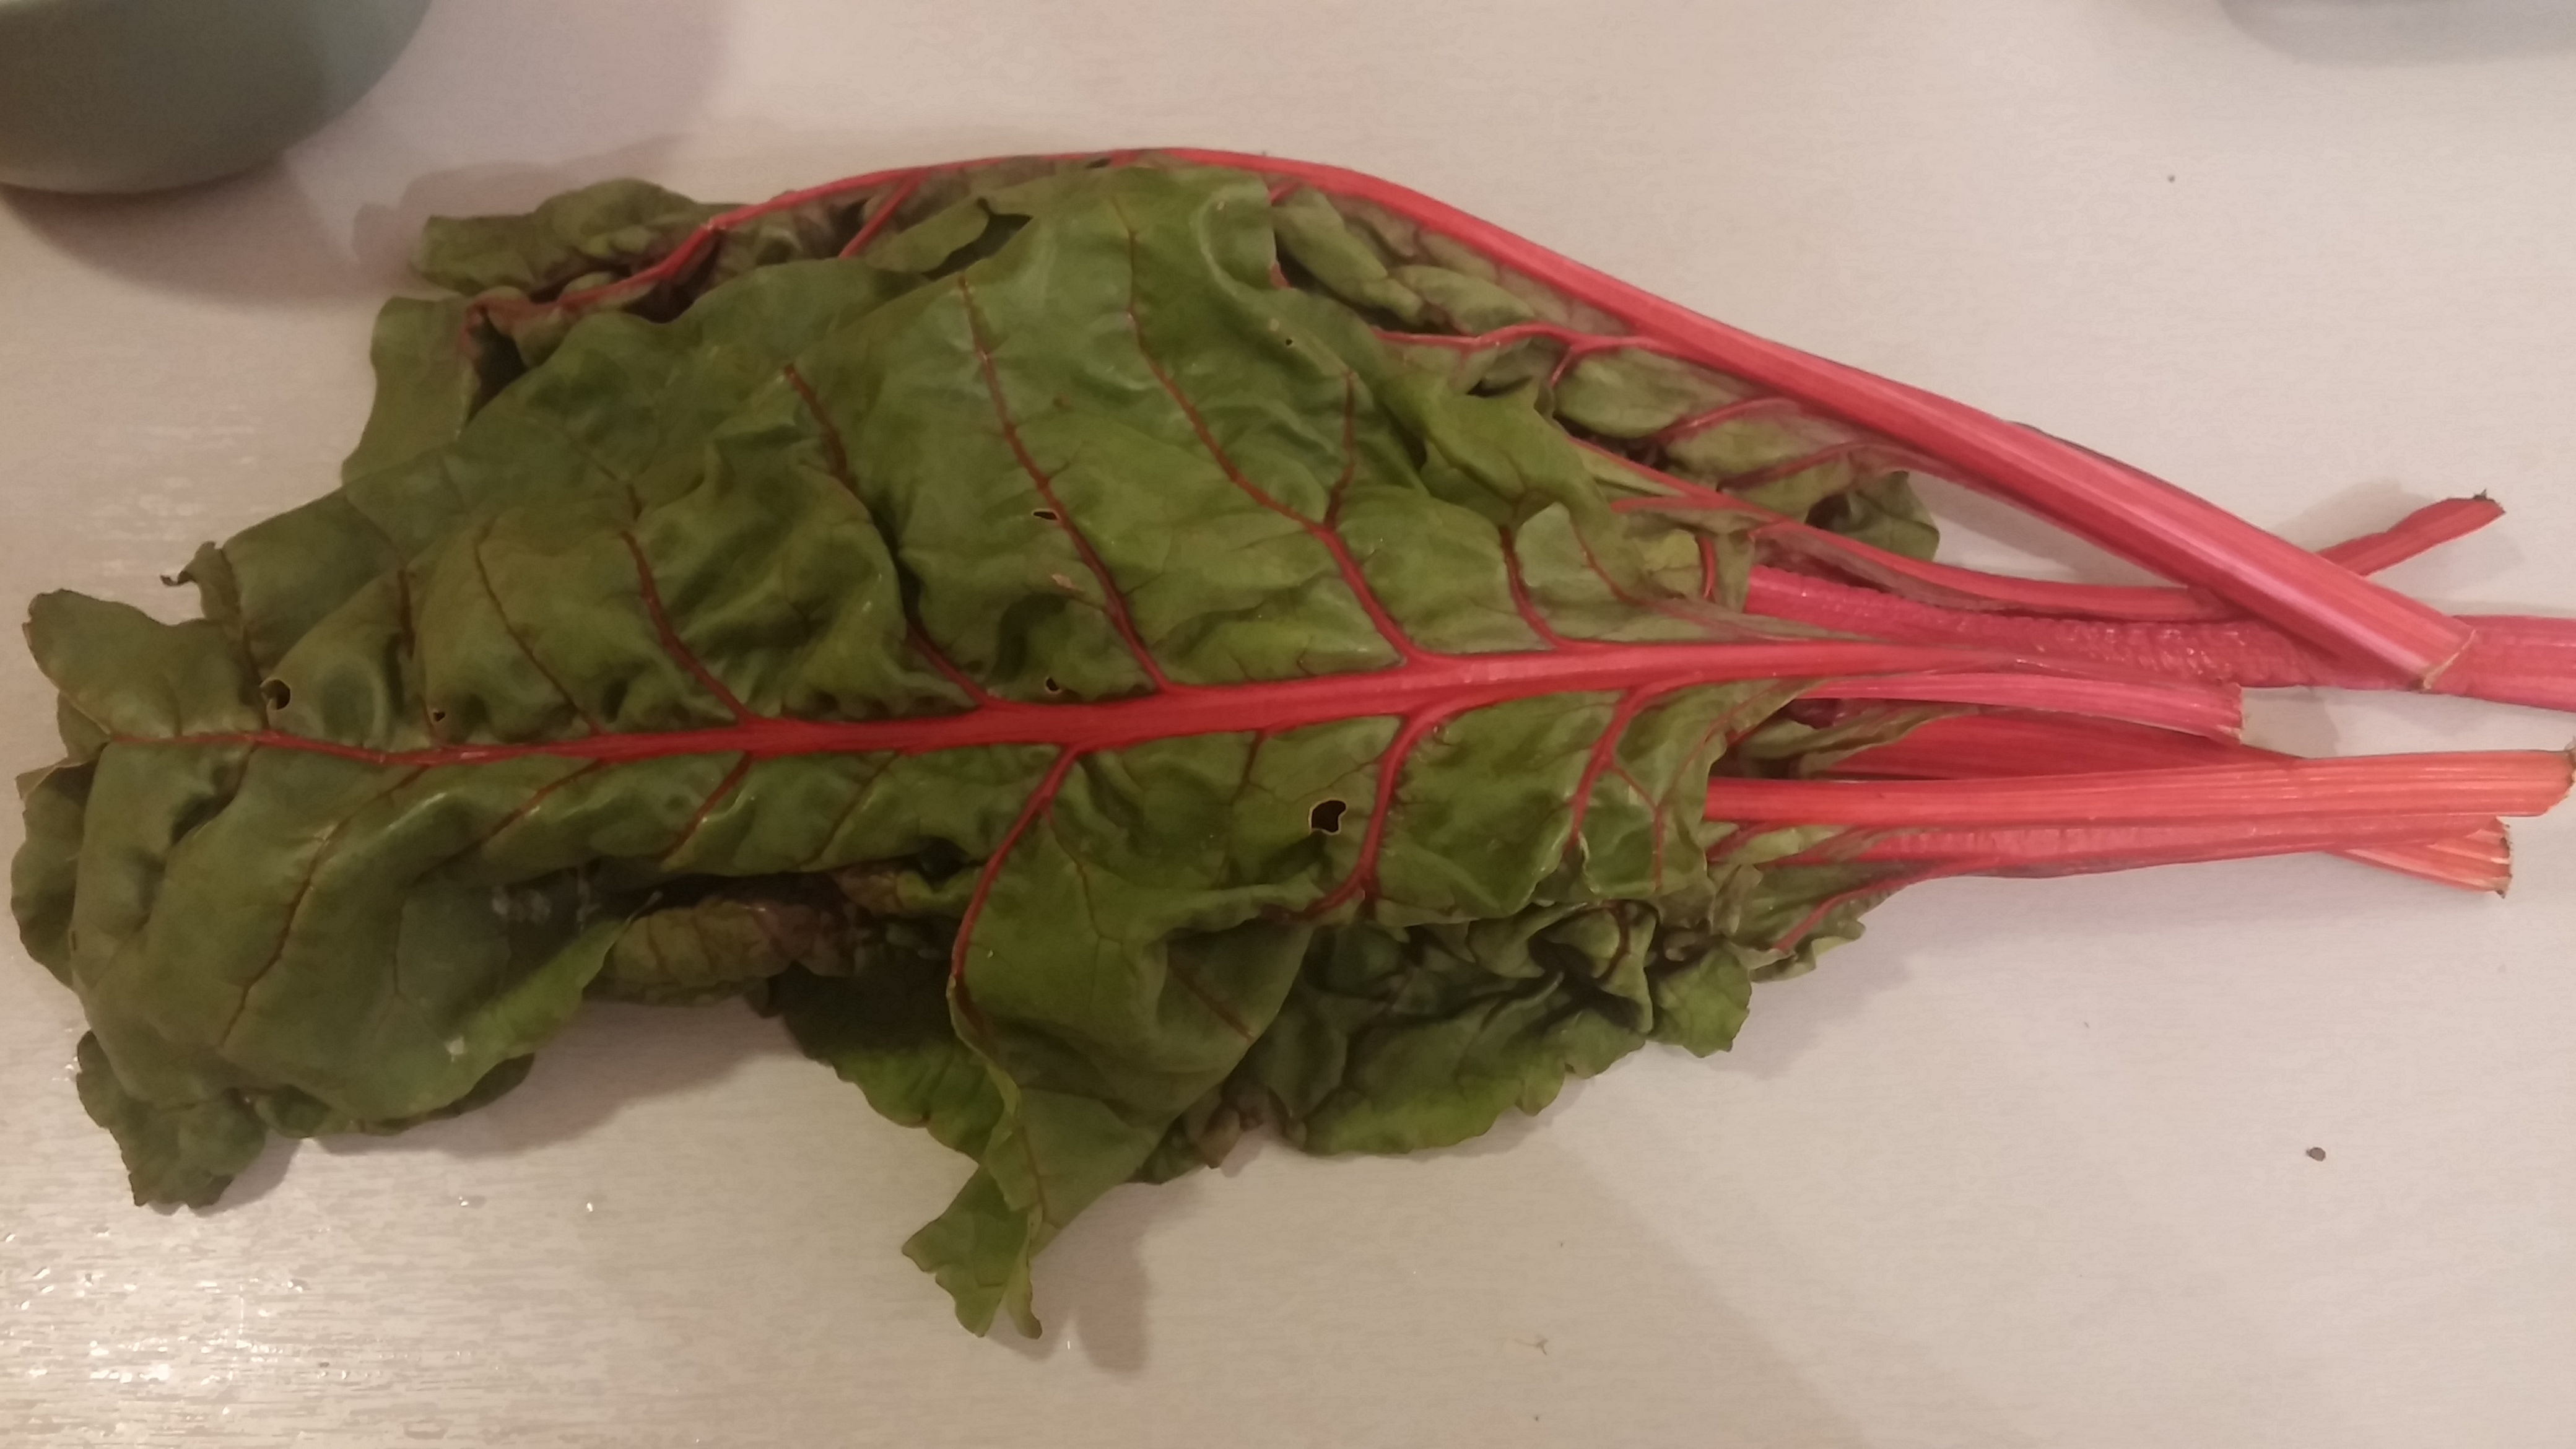
Step Two- Separate the leaves from the stems as shown in the picture below.

leaves removed

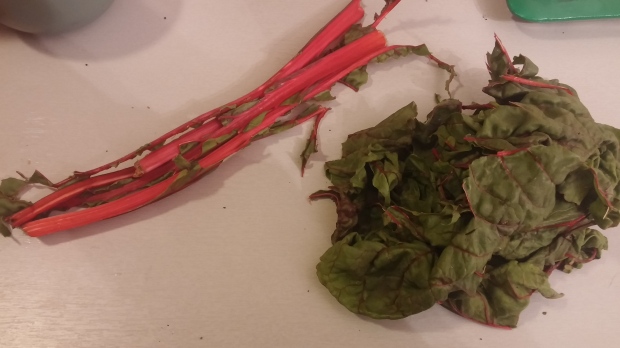
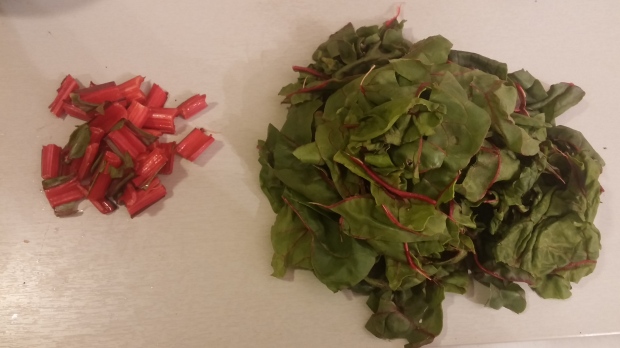
Step Three- Cut up leaves into bite sized pieces. Slice red part of stem into bite sized pieces. Discard the rest of the leaves.

pieces

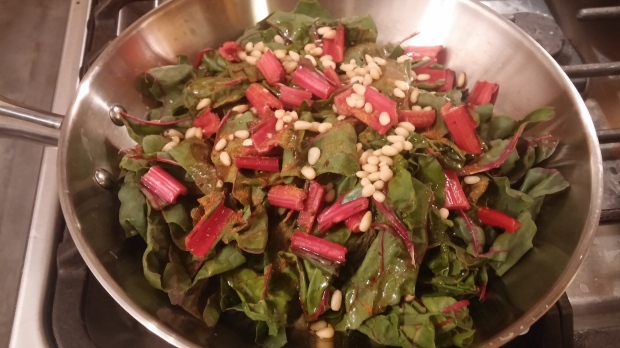
Step Four- Combine all ingredients in a pan and mix well. Do not heat. Set aside.

altogether in pan

The greens will cook up pretty fast so you don’t want to start them until you’ve prepped the other parts of the meal. Now it’s time to prep the chicken.

Chicken –

Ingredients

  • 1 package of boneless chicken breasts. Depending on how many people you need to feed, buy a larger or smaller sized package. I usually serve 3 medium sized chicken “tenders” per person with this meal.
  • Flour (at least 2 cup)
  • Eggs ( 2 eggs for every 8 pieces of chicken)
  • Spices: Salt, Pepper, Paprika, Cumin  – all to taste.
  • Breadcrumbs or Panko (I used Panko)

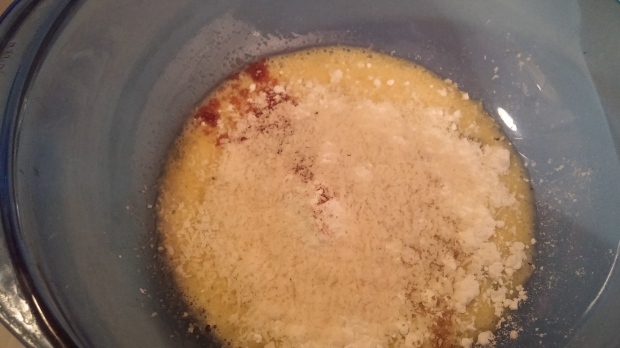
Step One-  In a small bowl, mix 1 egg (beat), flour (1/2 cup), panko (handful), and all spices. Mix until a paste is formed. Set aside. (for purposes of clarification this will be called mixture one.)

beaten egg

mixed with egg

mixture one

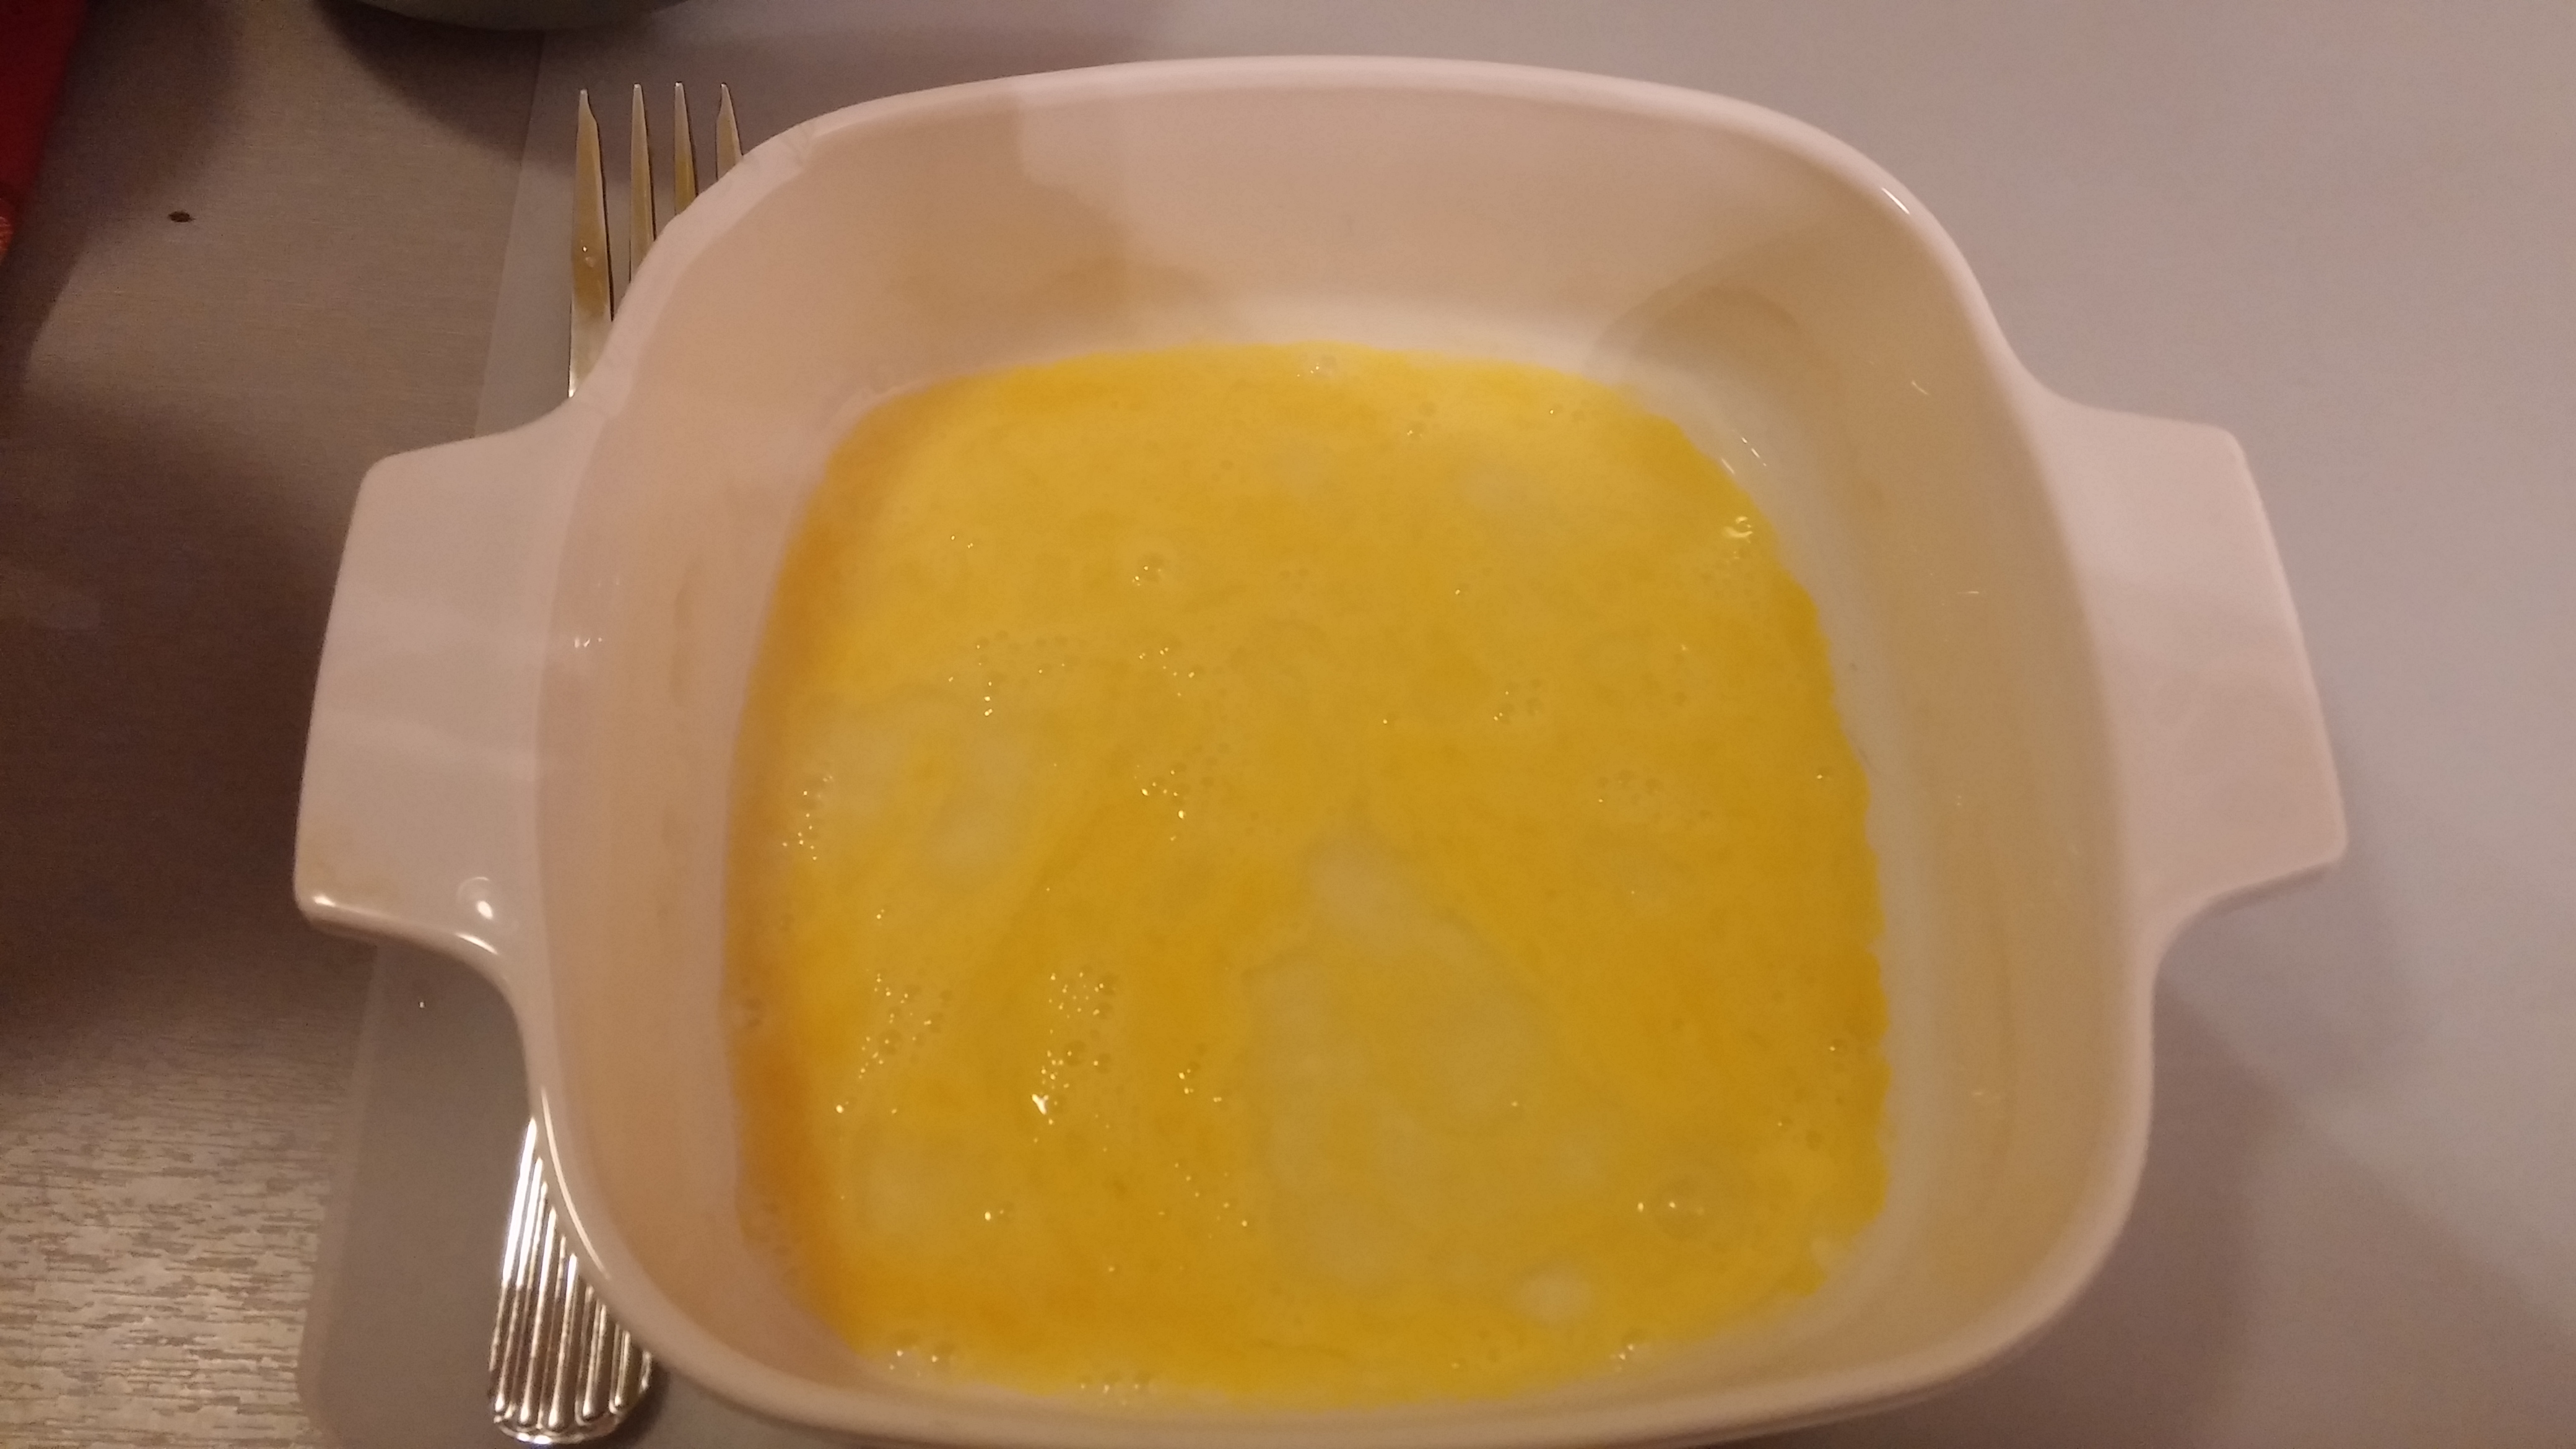
Step Two – In a medium sized bowel, beat 1 egg and set aside.

second egg

Step Three – In a medium sized bowl, mix the rest of the flower (1 1/2 cups), all spices, and some panko (1/2 a handful). Mix well. (for purposes of clarification this will be called mixture two.)

mixture two

mixed mix two

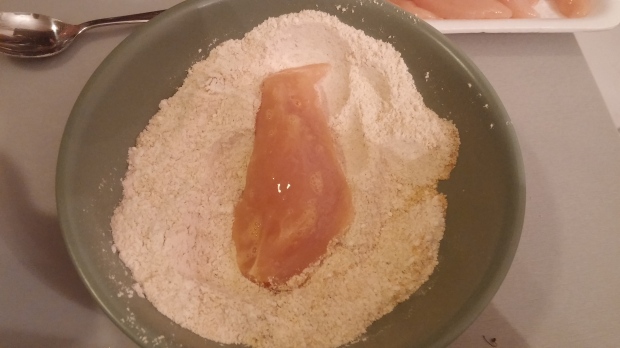
Step Four – Take 1 piece of chicken and dip it into the beaten egg. Roll it over so that both sides are coated. Let excess egg drip off back into the bowl. Then take the chicken and place it into mixture 2. Again roll it over so that all sides of the chicken are evenly coated. Set aside on a separate plate. Continue process until all pieces of chicken are prepared. When finished, wash your hand thoroughly to prevent the spread of salmonella.

chicken in egg

chicken in mix

covered chicken

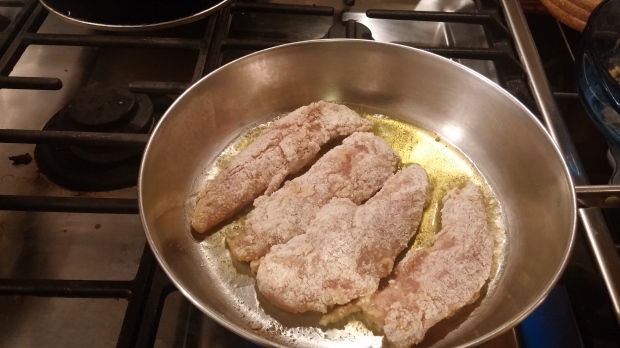
Step Five – Prepare a pan on the stove for cooking the chicken. Heat olive oil on medium heat until hot. While the oil is heated, use a spoon to spread mixture one on top of the pieces of chicken. This will be what makes the skin extra crispy.

(At this point you should turn the heat on the greens. Cook the greens on medium heat, stirring occasionally, until cooked. Taste throughout to see if you need to add more of the spices and to check the texture of the greens. Remove from heat when cooked to desired taste.)

coking chard

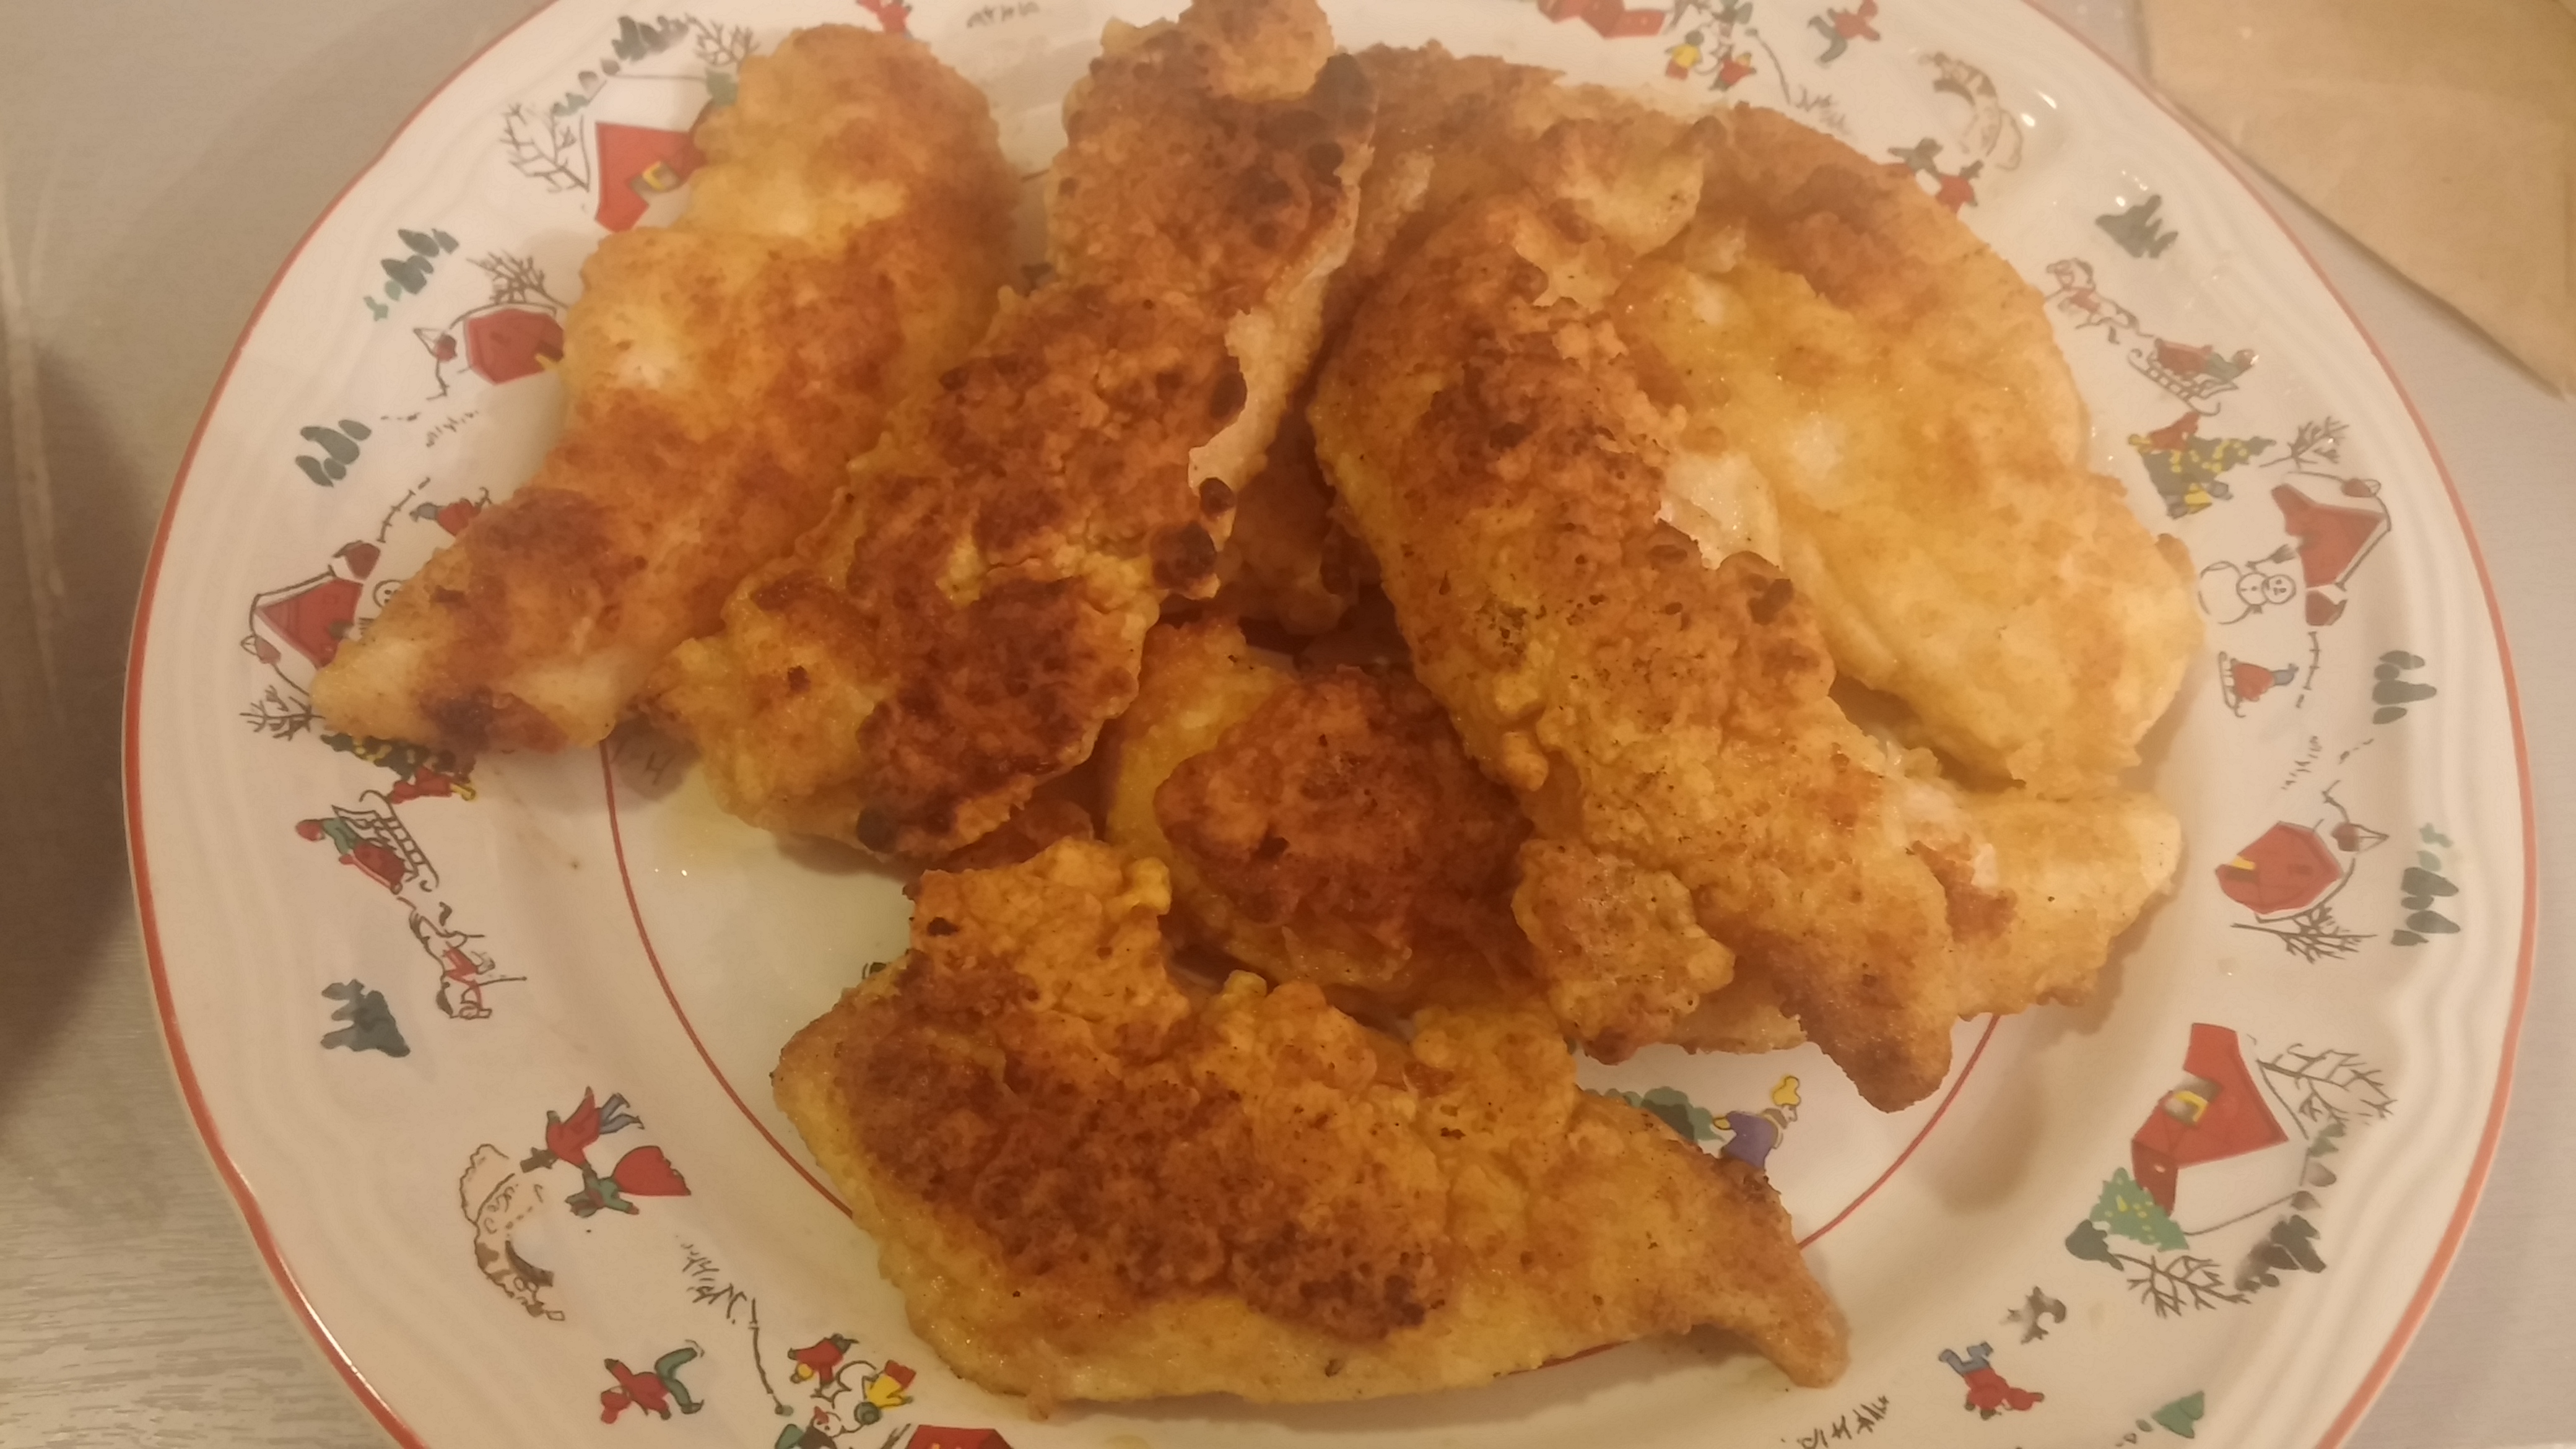
Step Six – When the oil is hot, place the pieces of chicken into the pan. Allow each side to cook for approximately 5 minutes, but check periodically so that it does not burn. If your oil starts to burn, the heat is too high. (I made this mistake and set the smoke alarm off, go me!) Continue this process until all the chicken is cooked.

cooking chicken

more cooked chicken

chicken done

Waffles –

So I have yet to master making a waffle mix from scratch. Until that time, I find Bisquick to be a more than adequate substitute. I do use a waffle maker, and I love it. So I won’t take you through the step by step process as the directions can be found on the box. I will note, however, that to sweeten up your waffles, add some agave syrup or honey to the batter. I started the waffles when I started cooking the chicken and the greens so that all three would be ready at about the same time.

Plan ahead as most waffle mixes require milk, vegetable oil, and at least 1 egg.

waffles

*******

Now it’s time to put it all together! Don’t forget the syrup!

finished product

HAPPY EATING!!!

Please feel free to leave a comment or suggestion.

Don’t forget to sign up to follow my blog by either entering your email in a comment or joining through the link on the homepage.

Until Next Time 🙂

Homemade Potato Chips!

Hey Everyone,

I am back to blogging! This last month has been very crazy and busy with travel, holidays, and work conferences. As such, I have not had time to blog much. But I’ve written notes and taken photos along the way to get everyone up to speed on all my cooking and eating of the last month 🙂

As we head into the holidays (a stressful time for sure, but hopefully also a time full of experimenting in the kitchen,) I am excitedly planning away.

In the interim, I was stoked to try this recipe last night. If you’re like me, you love snacks but hate the calories. I’ve seen recipes for homemade chips floating around online but never trusted that they’d ACTUALLY taste good. Well, I’m here to say, I was wrong. These were absolutely delightful. I highly recommend this recipe for an easy snack, that satisfies your cravings, without totally setting back your diet / healthy eating.

Here we go!

Ingredients!

Ingredients!

^^ What you’ll need.

Do you guys have a mandolin?! If not I HIGHLY recommend purchasing one. I got mine off Amazon, and while I do not remember the exact price, I remember it being super affordable. It’s a lifesaver. Not only does it save HUGE amounts of time, but it slices and shreds WAY more effectively and thinly than I was ever able to do with a knife.

Ingredients-

  • Olive Oil
  • Salt
  • Pepper
  • Crushed Garlic
  • Rosemary (dried or fresh)
  • Truffle Oil (not required, but a lovely addition if you have it.)
  • Potatoes ( I used 1 russet and 1 golden)

Step One- Pre-heat your over to 425 °.

Step Two – Slice the potatoes.

If you have a mandolin you are familiar with how to use it. If you’re going to slice the potatoes by hand just try and get them as thin as possible. The thinner the slicers are, the more crispy the chips will turn out.

mandolin

sliced taters

Step Three –  Mix your ingredients.

In a large mixing bowl add your ingredients together.

Mix: Olive Oil – enough to coat all your potatoes, amount depends on how many potatoes you sliced, 1 table spoon crushed garlic, pinch of salt, pinch of pepper, 2 pinches (approximately 1 sprig) of rosemary, a few drops of truffle oil (very little is needed.)

Stir all ingredients until thoroughly mixed.

ingredients in bowl

mixed ingredients

Step Four – Add your potatoes

Now add all the potato slices into the bowl and stir until evenly coated with the mixture. I needed to do this twice in order to coat all the potatoes evenly.

taters in bowl

Step Five – Place on baking sheet.

Cover baking sheet / cookie sheet with tin foil. Oil the tin foil to avoid the potatoes sticking. You can use butter or olive oil for this, or for a healthier version a cooking spray. (Hint – to avoid using aerosole can sprays but still only lightly grease dishes for cooking, try putting olive or vegetable oil in a spray bottle and spraying the sheets.)

Once the sheets are covered, place the potatoes on the sheets, spreading them out evenly and avoiding overlap as much as possible.

on tray

Step Six – Cook those bad boys!

Place the baking tray(s) into the oven and bake on 425 ° for 20 minutes. Around 10 minutes in check them. If they feel slightly crispy, flip them so that both sides can cook evenly. Cook less for potato wedge type consistency and longer for crispier chips. Do not walk away from these too much while cooking, especially after the first 10 minutes. Because they are so thin, they will go from slightly crispy to totally burned without even a warning 🙂

in oven

baking

^^ When finished remove from heat and allow to cool a bit.

Step Seven – Remove chips from the trays and place into medium sized bowl. Toss lightly with salt and pepper to taste. Enjoy!

cooked

Happy Eating!